
React 19’s enhanced form handling
React 19 useActionState and useFormStatus
React 19 has a built-in mechanism for handling forms called “actions”. Below is an example from Shruti Kapoor’s video shows how to convert a form from React 18 to React 19.
- There’s no need to add
event.preventDefaultbecause that’s handled for us by React. - The
actionis automatically treated as a transition. - We can hook into the pending state of this action using
useFormStatus(import fromreact-dom). - React manages errors and race conditions to ensure our form’s state is always correct.
Server Functions allow Client Components to call async functions executed on the server. Until September 2024, we referred to all Server Functions as “Server Actions”. If a Server Function is passed to an action prop or called from inside an action then it is a Server Action, but not all Server Functions are Server Actions.
// React 18
function App() {
  const [name, setName] = useState("");
  const [isPending, setIsPending] = useState("");

  const handleChange = (event) => {
    setName(event.target.value);
  };

  const handleSubmit = (event) => {
    event.preventDefault();
    setIsPending(true);
    setTimeout(() => {
      // call API
      setIsPending(false);
    }, [1000]);

    // or use [isPending, startTransition] from `useTransition`
    // to remove isPending state
  };

  return (
    <form>
      <input type="text" name="name" onChange={handleChange} />
      {isPending ? <p>{"Loading"}</p> : <p>Hello in React 18 {name}</p>}
      <button onClick={handleSubmit} disabled={isPending}>
        Update
      </button>
    </form>
  );
}
// React 19
function RenderName({ name }) {
// 1. `useFormStatus` must be called from a component that is rendered inside a <form>
// 2. `useFormStatus` will only return status information for a parent <form>
const { pending } = useFormStatus();
return <div>{pending ? "Loading" : `Hello in React 19 ${name}`}</div>;
}
function SubmitButton() {
const { pending } = useFormStatus();
return (
<button type="submit" disabled={pending}>
Update
</button>
);
}
function App() {
// https://react.dev/reference/react/useActionState
// You pass `useActionState` an existing form action function as well as an initial state,
// and it returns a new action that you use in your form, along with the latest form state.
// The latest form state is also passed to the function that you provided.
const [state, formAction] = useActionState(submitFormAction, { name: "" });
return (
<form action={formAction}>
<input type="text" name="inputName" />
<RenderName name={state?.name} />
<SubmitButton />
</form>
);
}// actions.js
"use server";
export const submitFormAction = async (previousState, formData) => {
const name = formData.get("inputName");
await new Promise((res) => setTimeout(res, 1000));
return { ...previousState, name: name };
};There is another example from React Conf 2024 displaying a message box, which is progressively enhanced with React 19 features. The main functionality of the form works without JavaScript.
// https://www.youtube.com/watch?v=X9cw4VczYVg
export default function MessageInput({ userId }) {
const [state, submitMessageAction] = useActionState(submitMessage, {
success: false,
});
useEffect(() => {
if (state.error) {
toast.error(state.error);
}
}, [state.error, state.timestamp]);
return (
<>
<form action={submitMessageAction} className="flex flex-col gap-2 p-6">
<input
autoComplete="off"
required
minLength={1}
name="content"
placeholder="Type a message..."
/>
<input type="hidden" name="userId" value={userId} />
{/* get pending status using `useFormStatus()` inside the button component */}
<SubmitButton>Send</SubmitButton>
</form>
</>
);
}
export async function submitMessage(_prevState, formData) {
// z.object({
// content: z.string().min(1, {
// message: 'Content must be at least 1 characters long',
// }),
// createdById: z.string().uuid({
// message: 'Invalid user ID',
// }),
// });
const result = messageSchema.safeParse({
content: formData.get("content"),
createdById: formData.get("userId"),
});
if (!result.success) {
return {
error: "Invalid message!",
success: false,
timestamp: new Date(),
};
}
await prisma.message.create({
data: result.data,
});
revalidatePath("/");
return {
success: true,
};
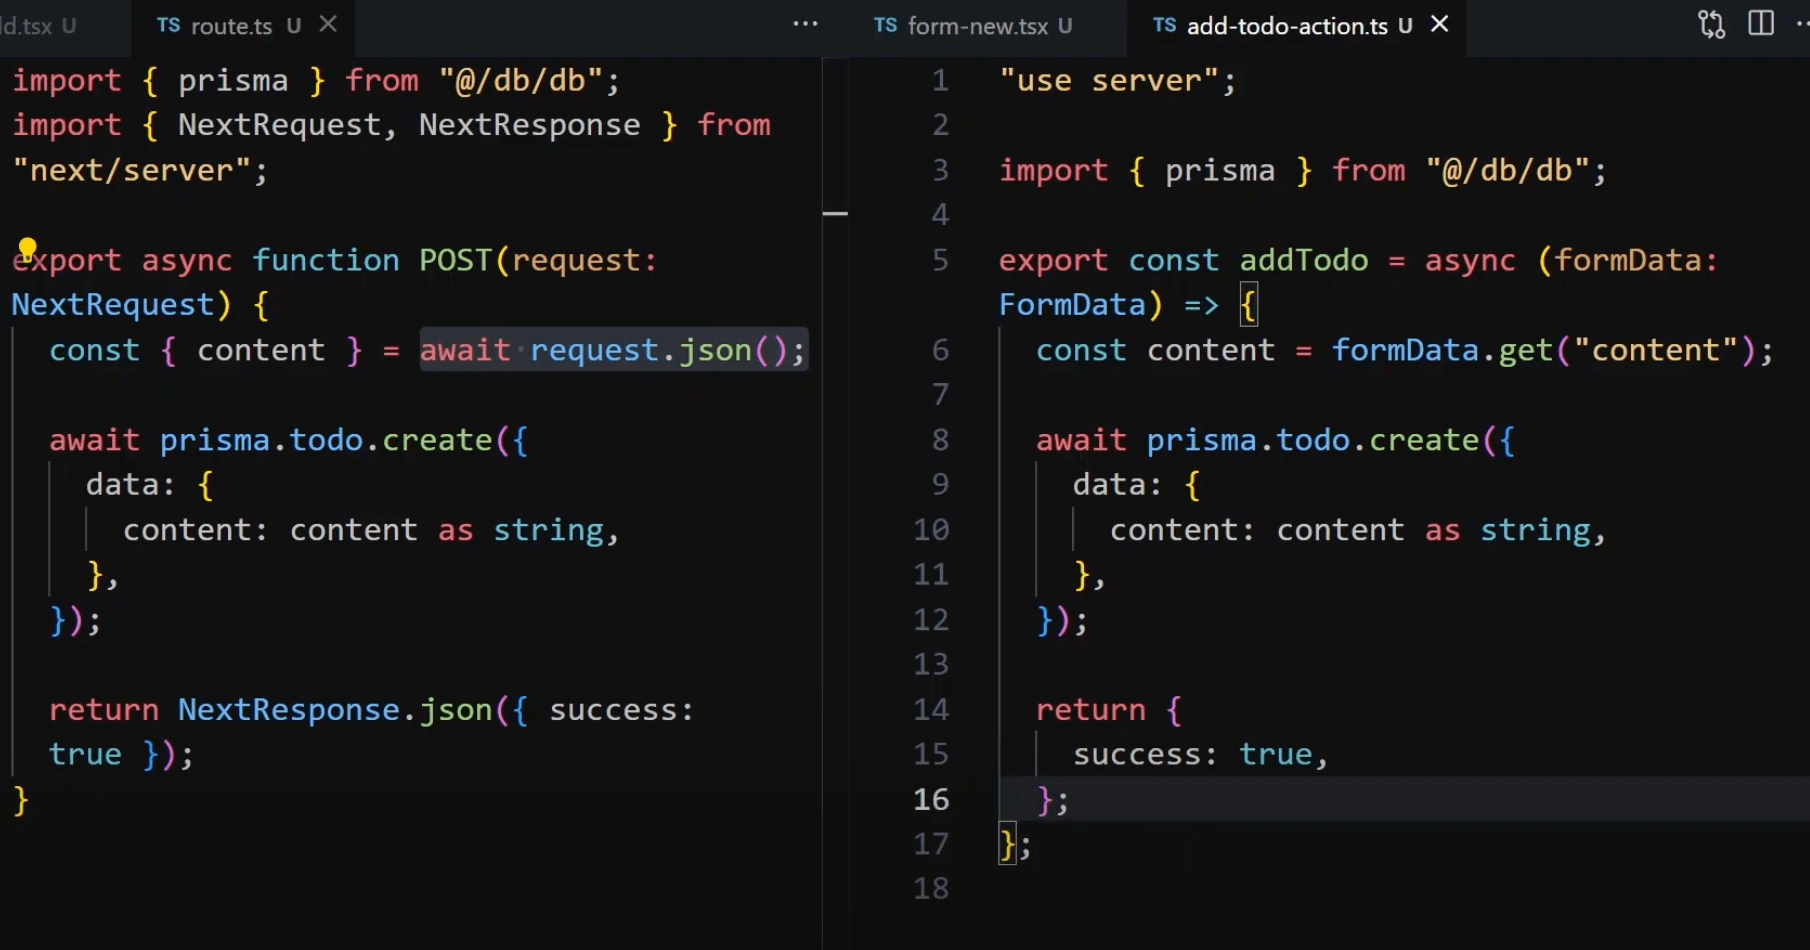
}Server Functions as Actions in forms:
- React will supply the form’s
FormDataas the first argument to the Server Function. - By passing a Server Function to the form action, React can progressively enhance the form. This means that forms can be submitted before the JavaScript bundle is loaded.
- Server Functions should be called in a Transition. Server Functions passed to form action will automatically be called in a transition.
useOptimistic use case
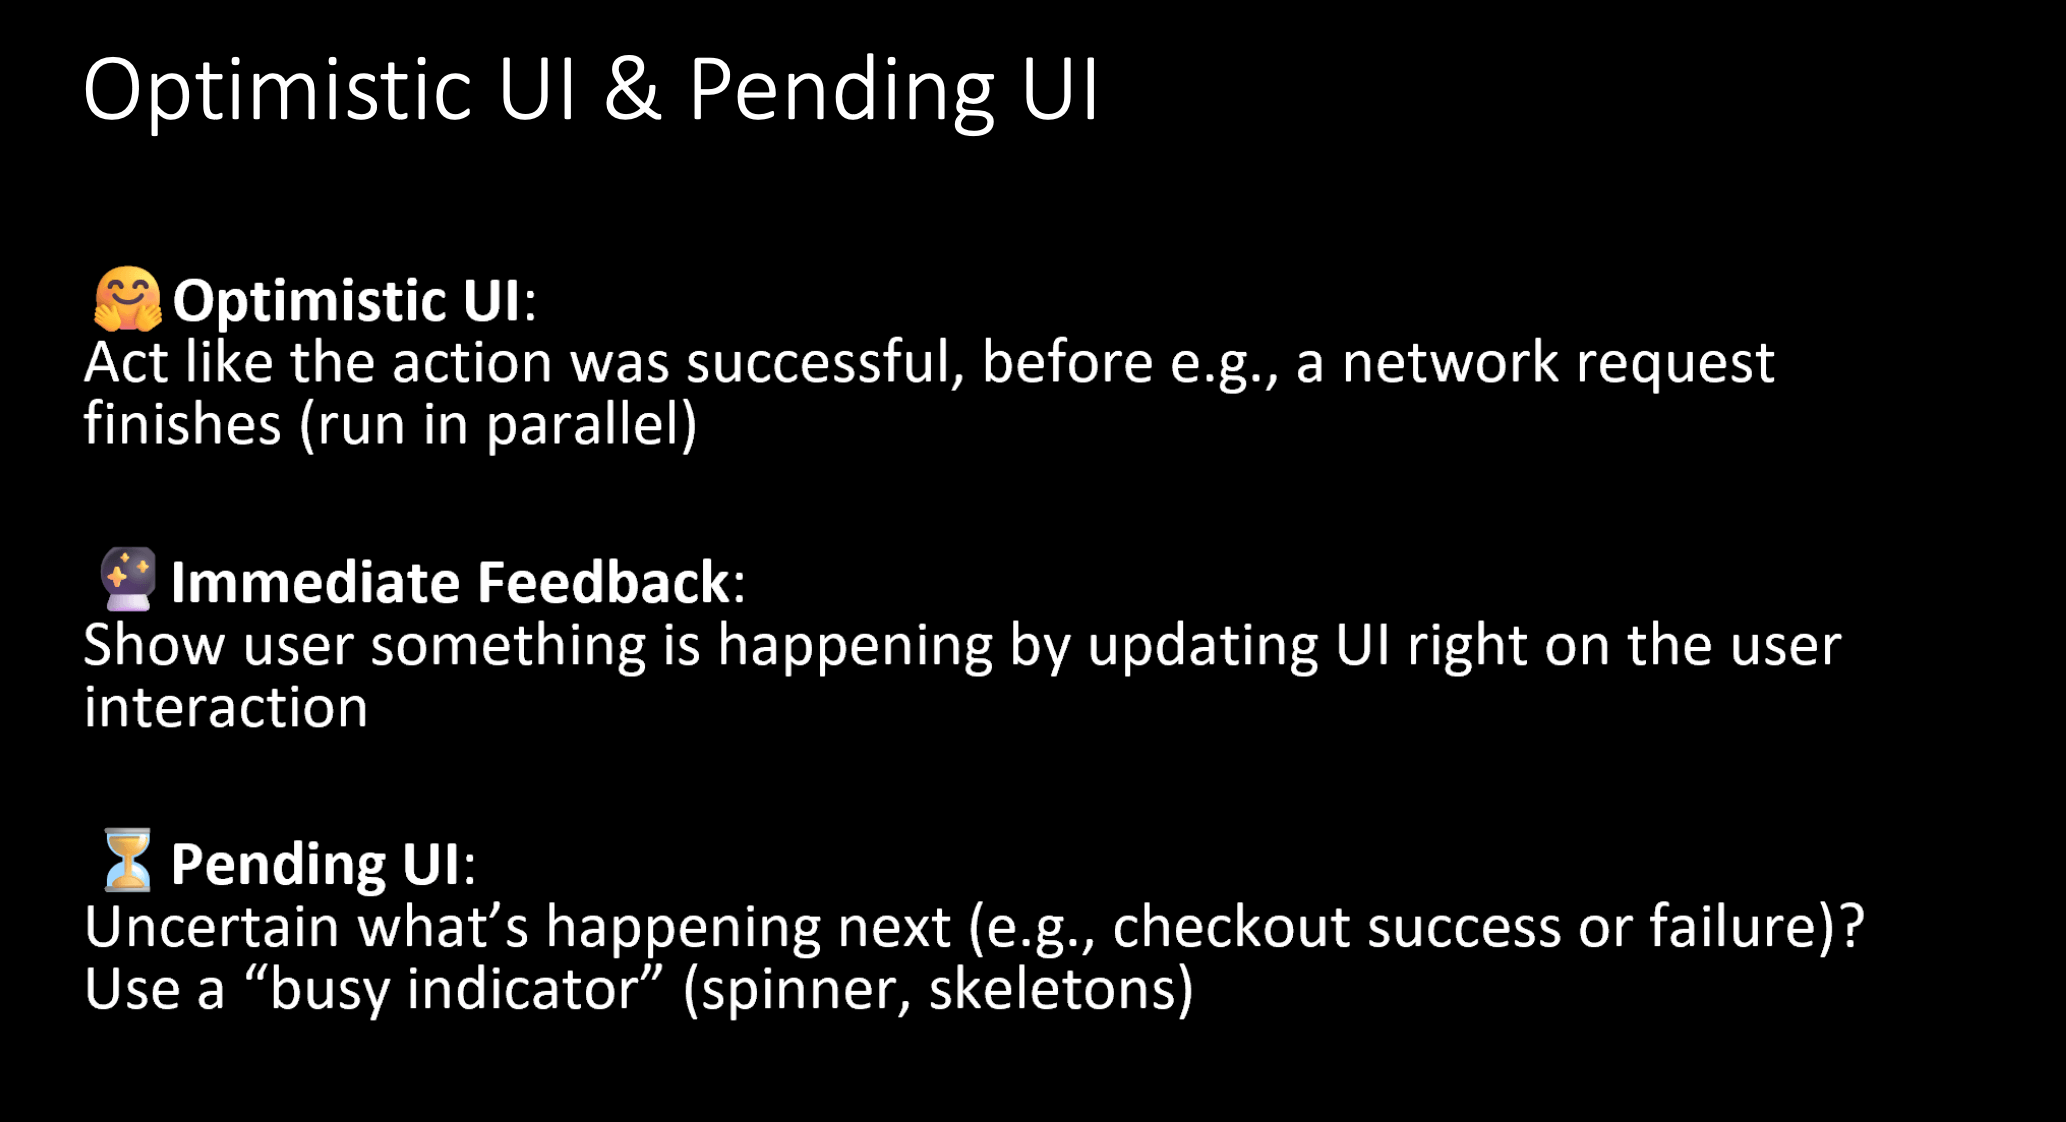
This hook lets you update the UI immediately in response to an action, before the server responds. You pass to it the current state you want to manage, and a (optional) function to update the optimistic state. It returns you the optimistic state (which you use for immediate rendering), and a function to update it.
'use server'

export async function addTodo(newTodo: string): Promise<Todo> {
  await new Promise((resolve) => setTimeout(resolve, 2000))
  return {
    todo: newTodo + ' test',
  }
}
'use client'
import { useOptimistic, useState, useRef } from 'react'
import { addTodo } from './actions'
export default function Todos() {
const [todos, setTodos] = useState<Todo[]>([])
const formRef = useRef<HTMLFormElement>(null)
const [optimisticTodos, addOptimisticTodo] = useOptimistic<Todo[], string>(
todos,
(state, newTodo) => [...state, { todo: newTodo }]
)
const formAction = async (formData: FormData) => {
const todo = formData.get('todo') as string
addOptimisticTodo(todo)
formRef.current?.reset()
try {
const result = await addTodo(todo)
setTodos((prevTodos) => [...prevTodos, { todo: result.todo }])
} catch (error) {
console.error('Error adding todo:', error)
}
}
return (
<div>
{optimisticTodos.map((m, i) => (
<div key={i}>{m.todo}</div>
))}
<form action={formAction} ref={formRef}>
<input type='text' name='todo' />
<button type='submit'>Send</button>
</form>
</div>
)
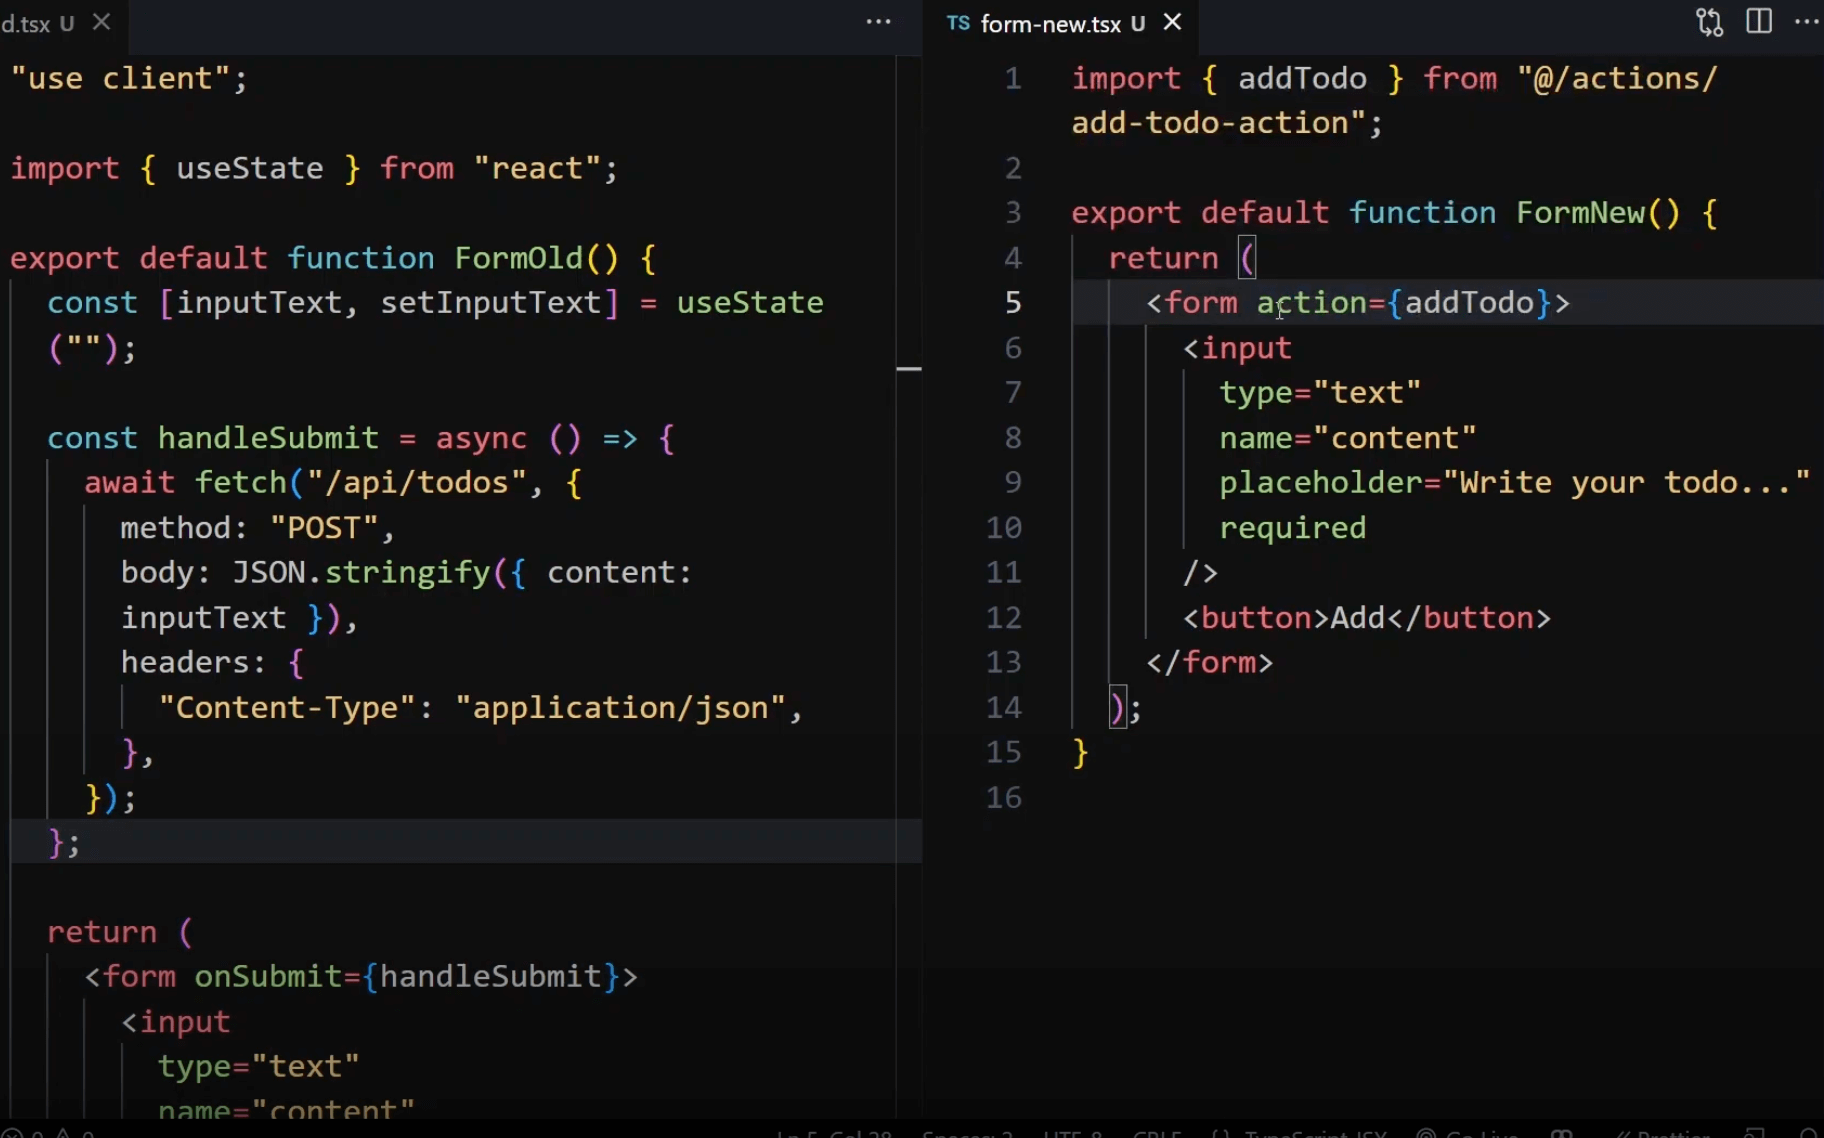
}For native HTML forms,
actionis the URL that processes the form submission.<form action={formAction}>whereformActionis a JavaScript function is a React feature. It is a client-side form action, stays on the same page and doesn’t navigate anywhere.useActionStateis optional and primarily designed for handling pending states and return values from your form actions.
The optimistic updater function is just for calculating what the UI should look like immediately. The server action does the actual work of making that change permanent. If the server action fails, the optimistic update gets thrown away and the UI reverts to the real state. If it succeeds, the optimistic state should match the new real state, so there’s no visual change when they swap.
const [optimisticCategories, setOptimisticCategories] = useOptimistic(
  searchParams.getAll("category"),
);

startTransition(() => {
  setOptimisticCategories(newCategories); // Optimistic (temporary)
  router.push(`?${params.toString()}`); // Real update (URL change)
});- State updates inside
startTransitiondon’t appear immediately — they wait until React performs the next render pass, which can be triggered by something like navigation. Optimistic updates insidestartTransitionare applied immediately in the UI. - When
useOptimisticis called without anupdateFn(second parameter), it defaults to a simple replacement function. setOptimisticCategories(newCategories)immediately updates the local state and re-renders the component with the newoptimisticCategoriesvalue.optimisticCategoriestemporarily overrides what the URL actually says. Users see their click immediately, even though the URL is still updating.- Meanwhile,
router.push()updates the URL and triggers any server-side filtering, but the UI doesn’t wait for this to complete.isPendingbecomes true when you callstartTransition, then stays true until everything triggered by that transition (including Server Component re-renders) completes. useOptimisticis designed to work seamlessly with React’s concurrent rendering and transitions. It keeps your UI in sync with the “real” state, and automatically falls back if the action fails or completes.
React 19 cache function
cache is only for use with React Server Components, not client components, and lets you cache the result of a data fetch or computation. It wraps around a function and remembers what that function returned for specific inputs. When multiple components need the same data, they get the cached result instead of fetching it again.
import { cache } from "react";

// Create a memoized function outside components
const getUser = cache(async (userId) => {
  return await db.getUser(userId);
});

// Use it in multiple components
function ProfileHeader({ userId }) {
  const user = getUser(userId);
  // ...
}

function ProfileStats({ userId }) {
  const user = getUser(userId);
  // ...
}
- Use
cachein Server Components to memoize work that can be shared across components.- Use
useMemofor caching a expensive computation in a Client Component across renders.- Use
memoto prevent a component re-rendering if its props are unchanged.
Support for document metadata
In React 19, we’re adding support for rendering document metadata tags in components natively. When React renders this component, it will see these tags, and automatically hoist them to the <head> section of document.
function BlogPost() {
  return (
    <article>
      <meta name="author" content="Josh" />
      <link rel="author" href="https://twitter.com/joshcstory/" />
      <p>Hello</p>
    </article>
  );
}

function ComponentOne() {
  return (
    <Suspense fallback="loading...">
      <link rel="stylesheet" href="foo" precedence="default" />
      <link rel="stylesheet" href="bar" precedence="high" />
      <article class="foo-class bar-class">...</article>
    </Suspense>
  );
}
React 19 added special support for the <link> element. When rendered with the precedence prop, stylesheets will be automatically hoisted into the <head> and deduplicated. In addition, when rendered inside a <Suspense> boundary, React will wait for the stylesheet to load before revealing content that depends on it.
- Your component will suspend while the stylesheet is loading. You must supply the
precedenceprop, which tells React where to place this stylesheet relative to others — stylesheets with higher precedence can override those with lower precedence. - If you render the same stylesheet from multiple components, React will place only a single
<link>in the document head.
Next.js sever actions and <Form> component
Next.js Server Actions is a feature that allows you to run server-side code directly from client components. It is part of Next.js’s full-stack framework features, eliminating the need for API routes for basic form handling.
useActionState helps you deal with loading and error states.
// contact-form.tsx
const [state, action, isLoading] = useActionState(submitFormAction, {
  email: "",
});

return (
  <form action={action}>
    <input type="email" name="email" />
    {isLoading ? "Loading..." : null}
    <button type="submit">Submit</button>
  </form>
);

// action.ts
export async function submitFormAction(
  previousState: string,
  formData: FormData,
) {
  await new Promise((res) => setTimeout(res, 1000));
  const email = formData.get("email");
  return { email };
}
The Next.js <Form> component extends the HTML <form> element to provide prefetching of loading UI, client-side navigation on submission, and progressive enhancement. The behavior of the <Form> component depends on whether the action prop is passed a string or function.
- When action is a function (Server Action),
<Form>behaves like a React form, executing the action when the form is submitted. - When action is a string, the
<Form>behaves like a native HTML form that uses a GET method. The form data is encoded into the URL as search params, and when the form is submitted, it navigates to the specified URL. In addition, Next.js performs a client-side navigation instead of a full page reload when the form is submitted.
import Form from "next/form";

export default function Page() {
  return (
    // URL will be /search?query=abc
    <Form action="/search">
      <input name="query" />
      <button type="submit">Submit</button>
    </Form>
  );
}

// Perform mutations by passing a function to the action prop
export default function Page() {
  return (
    <Form action={createPost}>
      <input name="title" />
      <button type="submit">Create Post</button>
    </Form>
  );
}

// app/posts/actions.ts
"use server";
import { redirect } from "next/navigation";

export async function createPost(formData: FormData) {
  // Create a new post
  // ...

  redirect(`/posts/${data.id}`);
}