
Setup a new Mac
Setting up development environment
-
The first step is getting around the firewall. You may
download clashXand acquire subscription links from ss.(2023 年 11 月 Clash For Windows 删库,随后 Clash 内核、Clash Meta、For Android、ClashX 也都一起删库或归档停止维护). Use Clash Verge Rev instead.# Tell command-line programs to use a proxy server. export http_proxy=http://127.0.0.1:7890 export https_proxy=http://127.0.0.1:7890 # romove the proxy unset http_proxy unset https_proxy -
Install Homebrew package manager, and you can install almost any app from the command line. Make sure everything is up to date
brew update. (M1 installation at/opt/homebrew/, Intel at/usr/local/Cellar/)If it complains
curl: fail to connect raw.gitmirror.com port 443. It’s about DNS cache poisoning, we may set DNS Server to8.8.8.8or update the/etc/hostsfile. -
Check
git --versionand may need to install Command Line Developer Tools. -
Install VSCode, Chrome, iTerm2, Docker through Homebrew, then you can use
brew listandbrew info google-chrometo check.# refer to https://formulae.brew.sh brew install git yarn make brew install --cask visual-studio-code google-chrome iterm2 docker # replace with other mirror address (default is using GitHub) cd `brew --repo` git remote set-url origin https://mirrors.tuna.tsinghua.edu.cn/git/homebrew/brew.git brew updatecaskis no longer abrewcommand. When you want to install a Cask, just dobrew installorbrew install --caskinstead ofbrew cask install- install an package behind a proxy:
ALL_PROXY=127.0.0.1:7890 brew install <package>
-
Catalina comes with
zshas the default shell. Install Oh My Zsh and check the.zshrcfile.-
robbyrussellis the default theme, and you may change to use spaceship prompt theme. The configuration for the prompt is stored in thePS1environment variable. You can see the default value byecho $PS1.
‘unable to access error’: Something is blocking the connection to github. It is likely some kind of firewall, either on your machine or in your network. If it works with a browser on same machine then the browser is probably using a proxy and you need to configure git to use this proxy too.
- check if your git uses proxy:
git config --global http.proxy - set proxy address:
git config --global http.proxy 127.0.0.1:7890 - reset the proxy:
git config --global --unset http.proxy
-
-
Use
nvmto install Node.js, then install a version of nodenvm install xx.xx,nvm use xx.xxand runnvm ls. Usenode -v && npm -vto check the version.-
nvm ls-remoteto browse available versions -
set default node version:
nvm alias default x.y.z(nvm alias default nodeto make the “latest” default) -
check npm config:
npm config ls -
npm config set registry https://registry.npmmirror.comto change the registry,npm config delete registryto change back to default (https://registry.npmjs.org/),npm get registryto see the current set. -
set npm proxy
npm config set proxy http://127.0.0.1:7890and remove this proxynpm config delete proxy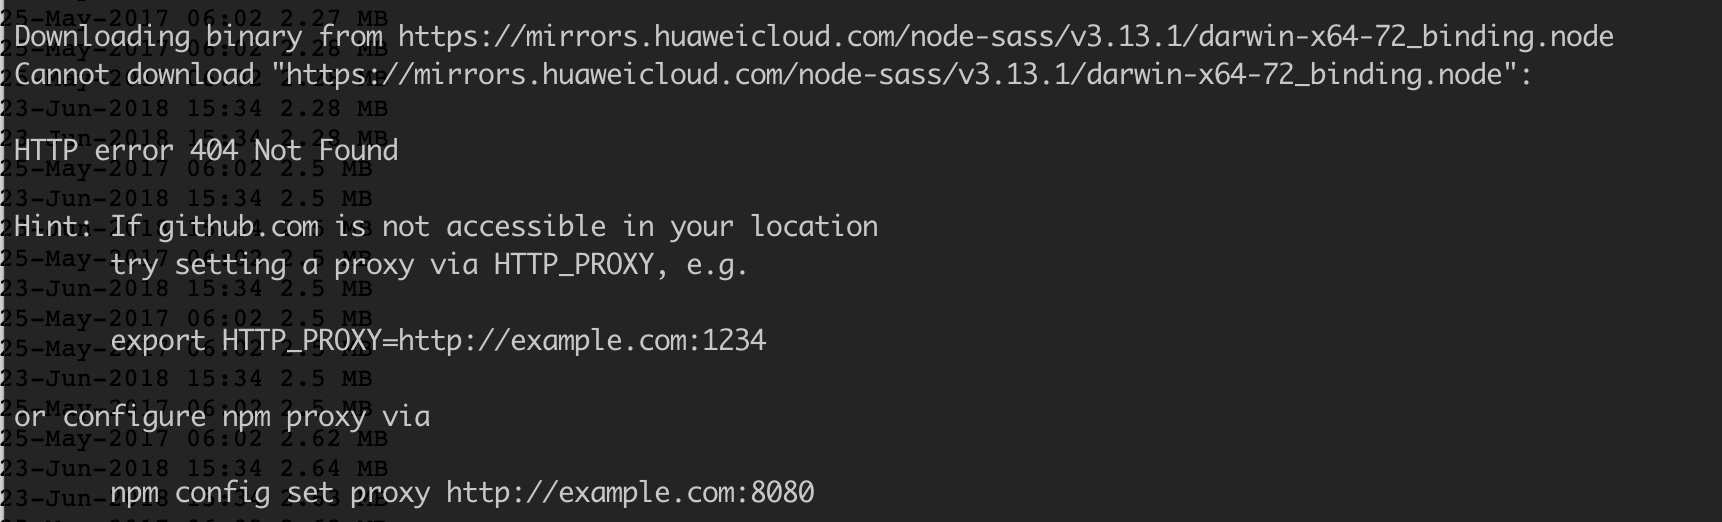
-
Global Node modules will be installed at
~/.nvm/versions/node/v12.13.0/bin/if you use nvm.
package manager mirrors: https://github.com/eryajf/Thanks-Mirror
- Taobao: http://registry.npmmirror.com
- HUAWEI: https://repo.huaweicloud.com/repository/npm/
- Tencent: http://mirrors.cloud.tencent.com
Alternative ways to
nvm: -
-
Set global configuration with Git
touch ~/.gitconfig, and check withgit config --list.[user] name = Firstname Lastname email = you@example.com [github] user = username [alias] a = add cm = commit -m s = status pom = push origin master puom = pull origin master co = checkout lg = log --pretty=format:'%h %ad%x09%an%x09%s' --date=short(%h = commit hash, %x09 = tab, %an = author name, %ad = author date, %s = subject)
-
Some commands for Finder
# Show Library folder chflags nohidden ~/Library # Show hidden files defaults write com.apple.finder AppleShowAllFiles YES # Show path bar defaults write com.apple.finder ShowPathbar -bool true # Show status bar defaults write com.apple.finder ShowStatusBar -bool true- A curated list of shell commands specific to macOS: https://git.herrbischoff.com/awesome-macos-command-line/about
- macOS defaults: https://macos-defaults.com
-
Install Chrome extension DevTools Theme: New Moon, then set devtool’s theme to “Dark” and go to Experiments and select “Allow custom UI themes”.
-
Add VSCode extentions like
Prettier,GitLens,Live Server,Import Cost.- Color themes I like: New Moon Theme or Nord, search and install one from extentions.
- Import Cost will display inline in the editor the size of the imported packages.
- Markdown PDF converts Markdown files to pdf, html, png or jpeg files in VSCode.
- Add
Emoji SnippetsandMarkdown Emojifor emoji support :tada: and check https://github.com/ikatyang/emoji-cheat-sheet for emoji shortcode to use.
-
Check out dotfiles https://github.com/mathiasbynens/dotfiles
Some references:
- https://www.swyx.io/new-mac-setup
- https://www.taniarascia.com/setting-up-a-brand-new-mac-for-development
- https://github.com/nicolashery/mac-dev-setup
- https://github.com/kentcdodds/dotfiles
- https://github.com/stefanjudis/dotfiles
- https://github.com/wesbos/dotfiles
- https://github.com/w3cj/dotfiles
- https://github.com/antfu/use
Moving to zsh
From macOS Catalina the default shell is zsh. zsh has a list of configuration files (.z* files) that will get executed at shell startup. zsh will start with /etc/zshenv, then the user’s .zshenv. Since changes in the zshenv will affect zsh behavior in all contexts, you should be very cautious about the changes applied here. Next, when the shell is a login shell, zsh will run /etc/zprofile and .zprofile. For interactive shells /etc/zshrc and .zshrc. Then, again, for login shells /etc/zlogin and .zlogin.
macOS Terminal considers every new shell to be a login shell and an interactive shell. So, in Terminal a new zsh will potentially run all configuration files. For simplicity’s sake, you should use just one file and the common choice is .zshrc. Most tools you download to configure zsh, such as Oh My Zsh, will override or re-configure your .zshrc.
Git for the first time
The first thing you should do when you install Git is to set your user name and email address. This is important because every Git commit uses this information. Use git config --list (git config --global --list) command to list all the settings.
# settings in a global ~/.gitconfig file located in your home directory
git config --global user.name "Your name here"
git config --global user.email "your_email@example.com"
git config --global color.ui true

# remove a git config
git config --global --unset user.name
Cloning with HTTPS or SSH
When you git clone using HTTPS URLs on the command line, Git will ask for your GitHub username and password the first time. It is likely that Git will use a credential helper provided by your operating system. If so, your GitHub credentials were cached and this setup applies across repos. Password-based authentication for Git is deprecated, and we recommend using a personal access token (PAT) when prompted for a password instead. Once you have a token, you can enter it instead of your password when performing Git operations over HTTPS. (If you are not prompted for the username and password, your credentials may be cached on your computer. You can update your credentials in the Keychain to replace your old password with the token).
SSH URLs provide access to a Git repository via SSH, a secure protocol. To use these URLs, you must generate an SSH keypair on your computer and add the public key to your GitHub account.
- Enter the directory
cd ~/.ssh - Generate the personalised SSH key
ssh-keygen(multiple SSH keys:ssh-keygen -t rsa -b 4096 -C email@another.com -f $HOME/.ssh/another/id_rsa) - Copy the key
cat id_rsa.pub | pbcopy - Go to Github Settings -> select SSH and GPG keys -> New SSH Key. Give the SSH key a description so we can know which device it belongs too (i.e., MacBook Pro 2020).
- Type
ssh-add -K ~/.ssh/id_rsato store the passphrase (-Kfor adding in your keychain). Note that the addition of keys to the agent is transient and they last only as long as the agent is running. If you kill it or restart your computer they’re lost until you re-add them again. - Optional, type
ssh -T git@github.comto test the connection.

PAT in Azure DevOps
A personal access token (PAT) is used as an alternate password to authenticate into Azure DevOps. Treat and use a PAT like your password. PATs are given permissions from a broad set of read and write scopes. They have access to all of the repositories and organizations that the user could access. Once you have a token, you can enter it instead of your password when performing Git operations over HTTPS.
The user’s .npmrc should contain credentials for all of the registries that you need to connect to. The NPM client will look at your project’s .npmrc, discover the registry, and fetch matching credentials from user’s .npmrc. This enables you to share project’s .npmrc with the whole team while keeping your credentials secure.
If you are developing on Windows, you only need to provide registries like @foo:registry=https://pkgs.dev.azure.com/xxx/ in the user .npmrc file and run vsts-npm-auth -config .npmrc command on a periodic basis. Vsts will automatically create PAT tokens in Azure DevOps for each registry and inject credentials into your .npmrc file.
If you are developing on Linux or Mac, vsts-npm-auth is not supported and we need to set up credentials manually. First generate a personal access token with packaging read & write scopes, and then Base64 encode the PAT. Now use the encoded PAT values as password in the user .npmrc file (also need the organization, feed, username, and email).